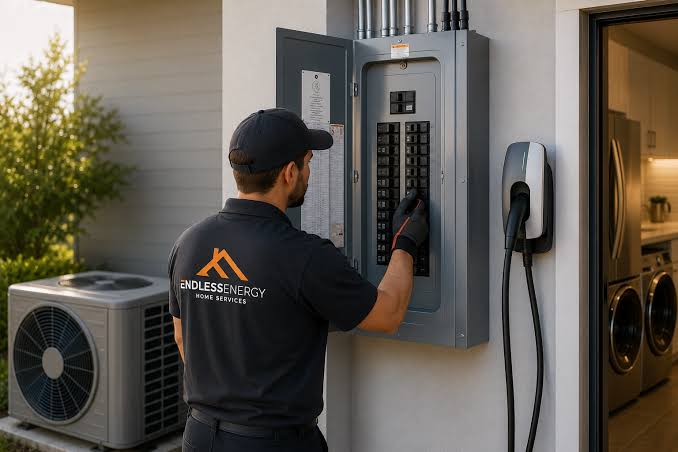
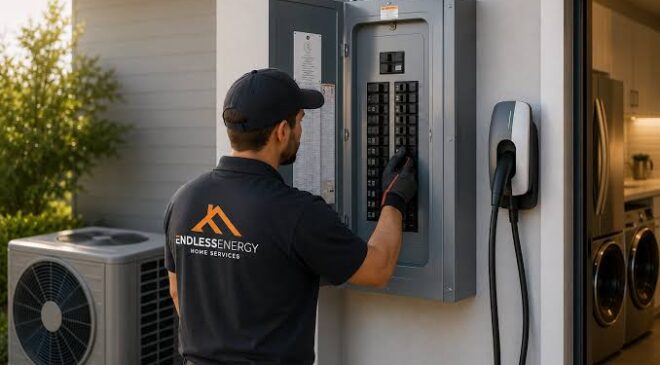
How to Install a Home Theater Power Manager
A home theater is an ultimate luxury for those who love to watch movies, play games, and enjoy music in the comfort of their homes. But with great power comes great responsibility, and in this case, it’s the power management of your home theater. A home theater power manager is a device that helps you manage the power supply to all the components of your home theater. In this article, we will discuss how to install a home theater power manager.
Thank you for reading this post, don't forget to subscribe!What is a Home Theater Power Manager?
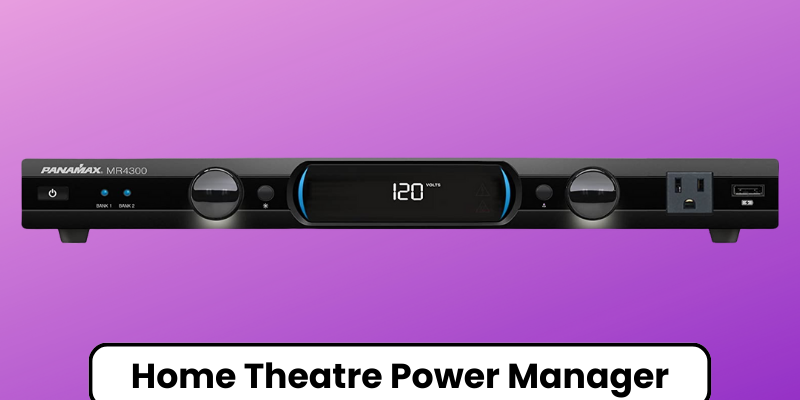
A home theater power manager is a device that controls the power supply to your home theater. It is designed to protect your expensive equipment from voltage fluctuations, power surges, and power spikes that can damage your equipment. A power manager provides a stable power supply to all the components of your home theater, ensuring that your equipment operates smoothly and lasts longer.
Installing a Home Theater Power Manager
Installing a home theater power manager is a simple process, and you don’t need to be an expert to do it. Here are the steps to follow:
Step 1: Choose the Right Home Theater Power Manager
The first step is to choose the right home theater power manager for your needs. There are many power managers available on the market, and you need to choose one that suits your requirements. Look for a power manager that has enough outlets for all your equipment and can handle the power requirements of your home theater.
Step 2: Unplug Your Home Theater Equipment
Before you start installing the power manager, you need to unplug all the equipment from the power outlets. This will ensure that there is no power flowing through the system, and it will be safe to install the power manager.
Step 3: Connect the Power Manager
Once you have chosen the right power manager, you need to connect it to the power outlet. Make sure you read the instructions carefully and follow them step by step. Most power managers come with a power cord that you can plug into the wall outlet. Some power managers may also have a built-in surge protector that you can plug into the wall outlet.
Step 4: Connect the Home Theater Equipment to the Power Manager
Now that you have connected the power manager to the power outlet, you need to connect your home theater equipment to the power manager. Most power managers come with multiple outlets, and you can plug in all your equipment into the power manager. Make sure you connect the equipment to the right outlets on the power manager. For example, you should connect your TV and audio system to the outlets that are designed for high-power equipment.
Step 5: Turn on the Power Manager
Once you have connected all your equipment to the power manager, you can turn on the power manager. Most power managers have a power switch that you can use to turn it on or off. Once you turn on the power manager, it will start managing the power supply to your home theater equipment.
Step 6: Test the Home Theater System
After you have installed the power manager, you should test your home theater system to ensure that it is working properly. Turn on your TV and audio system and check if they are working as expected. If you notice any issues, you should check the connections and make sure that all the equipment is connected to the right outlets on the power manager.
Conclusion
A home theater power manager is an essential device that can protect your expensive home theater equipment from power fluctuations and surges. Installing a power manager is a simple process that can be done by anyone. By following the steps outlined above, you can install a power manager and ensure that your home theater system operates smoothly and lasts longer.