How to Draw Oranges Drawing
Oranges
The orange is the most well-known and unmistakable organic product on the planet. It’s easy to see why. Likewise, with its delicious goodness and citrus flavour, it is the ideal nibble to appreciate on a blistering Summer day.
Thank you for reading this post, don't forget to subscribe!Visit the butterfly Coloring pages free.
It is even the state product of Florida, bringing it considerably more distinction! With the straightforward design of the orange, it would be a breeze to figure out how to draw an orange.
Adding a few varieties can get interesting, making an aide like this one significant assistance as you draw.
We trust that you have bunches of fun as you work on this bit-by-bit guide on the most proficient method to draw an orange!
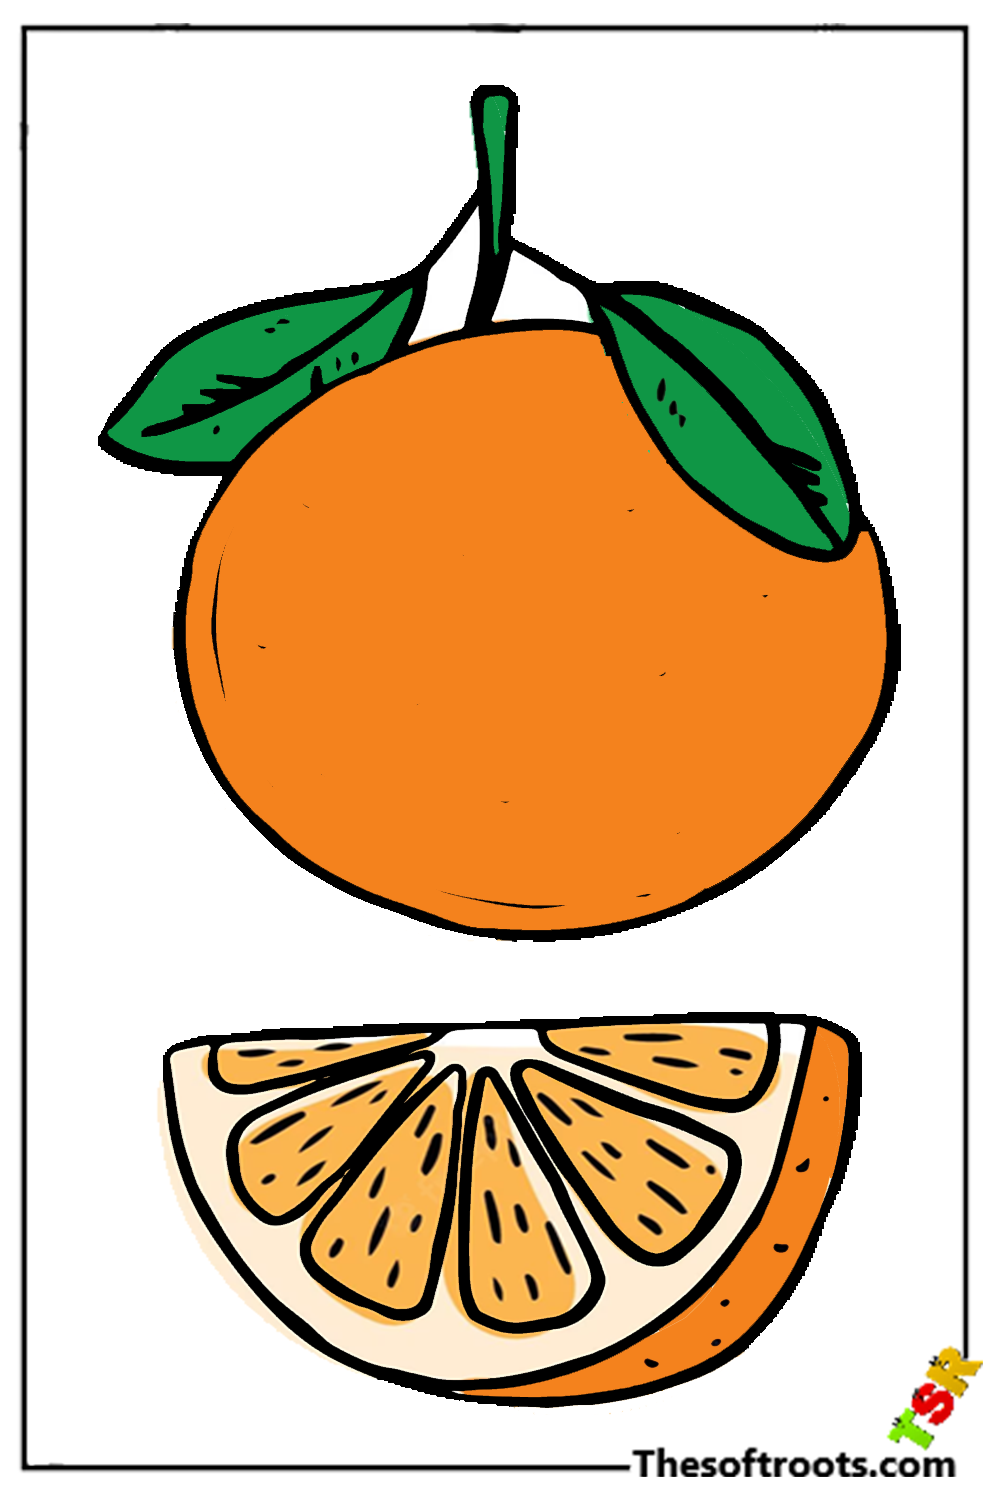
Stage 1 – oranges drawing
We will begin with the organic product’s tail and leaf for this initial step of our aid on the best way to draw an orange. The leaf is drawn for certain bent lines that meet up at a point toward the end.
Then, you can add a line down the center for the focal vein of the leaf. Then, at that point, you can draw a slight, adjusted rectangular shape for the stem of the orange.
At long last, you can utilize a thick line interfacing the leaf to the stem to polish off this step.
Stage 2 – Draw the blueprint of the orange next
Since you have the leaf and stem of the orange, you can begin to draw the blueprint of the body of the natural product for this piece of your orange drawing.
It could be enticing to draw a perfect circle, but we will not do that as we will have different cuts of orange before this one later in the aide.
Until further notice, define a bent boundary under the stem and leaf like you would draw a round trip.
Until further notice, it ought to seem to be a half-circle at the point that we have displayed in the reference picture.
Stage 3 – Presently, draw the layouts of the other orange cuts
You’ll be happy that you didn’t attract an entire orange in the past step of our aid on the most proficient method to draw an orange.
That is because we will occupy the space left in the diagram of the whole orange. First, you can draw a half-moon shape for one section of the orange.
Then, draw an adjusted shape with a somewhat level top so it won’t be a perfect circle.
Stage 4 – Next, draw the skins of the orange cuts
The following parts of your orange drawing will be tied in with adding the last subtleties to polish it off. This part ought to be easy to do, as all you require is adding a few bent lines for the skins of the orange cuts.
For the half-moon cut that you draw, you can add two adjusted lines intently along the border of the edge.
Then, for the half orange on the right, you can add a different line, a smidgen, over the primary concern of the diagram. Assuming it sounds confounding by any stretch of the imagination, it should be evident once you allude to the reference picture!
Stage 5 – Presently, you can polish off the subtleties within the orange
Before we add a variety to this image, we have a couple of definite subtleties to include in this step of our aid on the most proficient method to draw an orange.
For the little orange portion, you can get going by drawing what seems to be a beginning shape to the middle edge. Then, at that point, broaden a line from each place of that star shape outwards into the orange in various lengths.
The specification on the half-orange will be more confounded, yet when you get the hang of it, it ought to be simple! Most importantly, draw another star shape at the actual focus of the orange.
Then, you will draw what seems to be a column of adjusted three-sided shapes framing a circle inside the inward piece of the orange.
There will be a little hole in the sideline of these three-sided shapes, and they will stretch out internally to agree with the middle star shape you drew.
If you get lost, allude intently to the reference picture to take care of you!
Stage 6 – Polish off your orange drawing with some tone
Since you have completed the last subtleties, now is the ideal time to add a great tone to your orange drawing. You most likely understand the essential shade of this drawing, as it’s in the name! If you want to keep this picture more sensible, you will likely involve a great deal of orange as you tone.
Regardless of whether you keep to this variety conspire, there are heaps of ways that you can bring some variety! You could duplicate what we’ve done in the reference picture by utilizing a few shades of orange.
Visit the technic times.